Keeping babies warm with Nest thermostats and Electric Imps
December 14, 2014
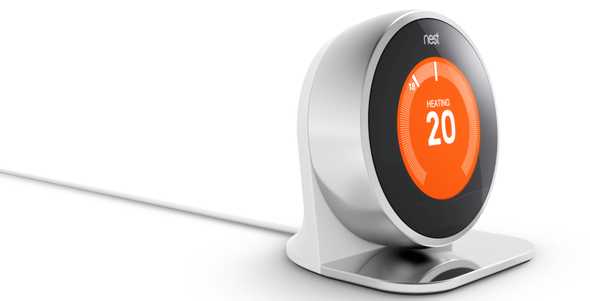
After getting a Nest thermostat a few weeks ago I was interested in adding another thermostat to my baby daughter’s bedroom to make sure that the temperature didn’t drop too far at night. The easy (and expensive) option would have been to add another Nest thermostat in her room but that would have been too easy (and too expensive!). It was also suggested to me (by the somewhat bemused mother of my baby daughter) that maybe I could just move the Nest thermostat upstairs to the bedroom (we have our Nest on a stand rather than fixed to the wall) but again that would have been too easy, plus Nest recommend placing the thermostat somewhere centrally in the home so that the auto-away feature has the best chance of working as expected.
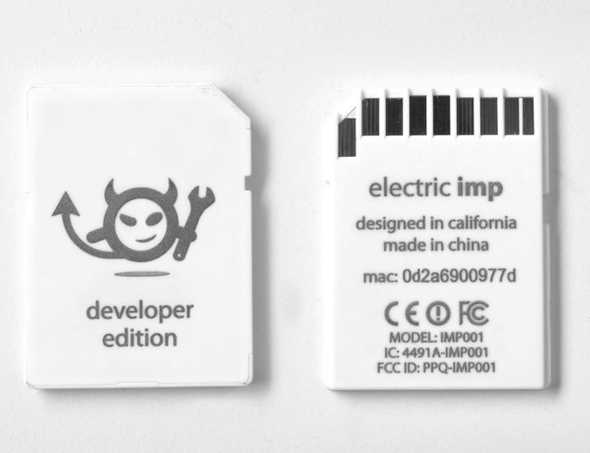
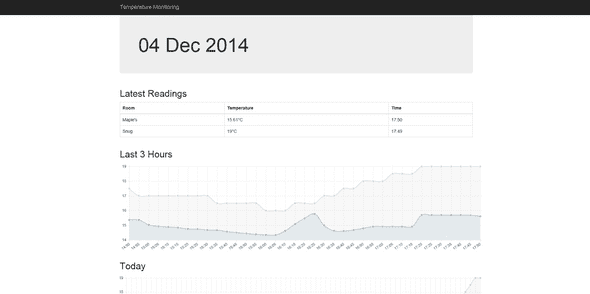
I started researching alternatives and came across Electric Imp which provides a way to connect ‘things’ to the Internet via their Electric Imp hardware as well as providing an online IDE to develop and host code that can process the input from the ‘thing’ and do whatever you want with it. In this case I needed to collect temperature readings and check that they were above a specific level. If they weren’t I would then turn on the heating using the Nest API. I also thought it would be interesting to be able to visualise the data coming from the thermometer and the Nest thermostat on a web page.
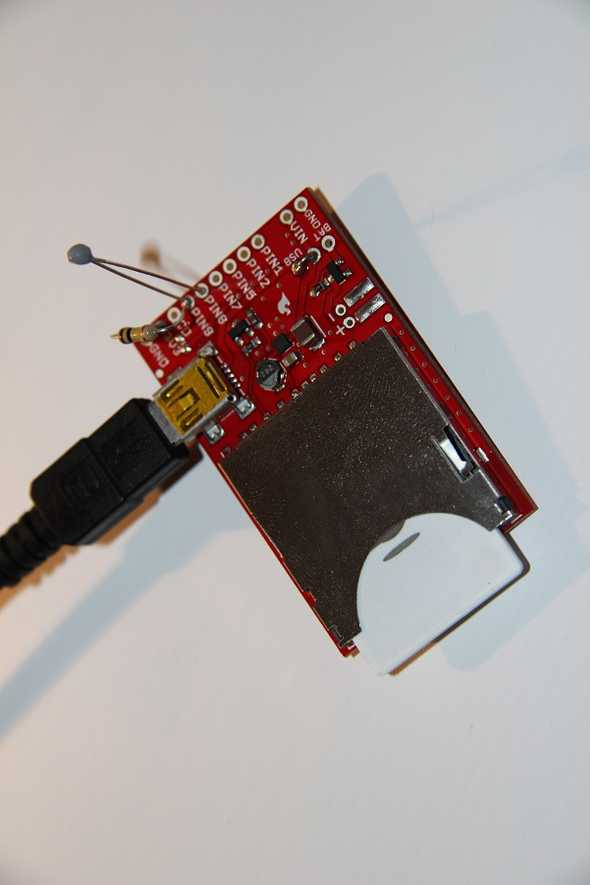
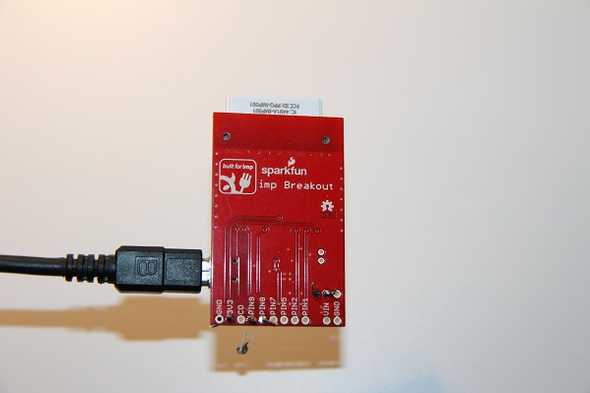
As a software developer I felt fairly confident about the code side of the equation but, as someone who last touched a soldering iron in school, the hardware side was approached with some uncertainty. Fortunately I found this Instructable that does most of the heavy lifting in terms of explaining how to connect a resistor and a thermistor to the Electric Imp and how to read and translate the voltages into degrees celcius. The only change I had to make on the hardware side was to leave out the capacitor as the break out board has a mini-USB power supply that I used instead of the 9-volt battery.
I used a 100kΩ resistor and a 100kΩ thermistor. As in the Instructable post I placed the resistor between ground and Pin9 and the thermistor between Pin8 and Pin9.
Given my lack of soldering experience I don’t think I did a bad job!
Once the board was soldered it was very easy to connect the Electic Imp to my wi-fi and get it talking to the agent. This is where the Electric Imp really excels as all you have to do is download a mobile app to your phone which then flashes it’s screen at the Electric Imp and hooks it up to the wi-fi. I had looked at more powerful and versatile options like an Arduino or a Raspberry Pi but whilst the Electric Imp doesn’t offer all the bells and whistles of these it does do what it claims to very well. Ie. Gets your stuff connected to the Internet quickly and easily.
The Instructable post uses Xively to visualise the data but I wanted to a) use my own storage and b) Xively are not currently allowing sign-ups. So I set up an ASP.Net Web API that the Electric Imp agent posts the data to which is then saved to Azure Table storage. Finally I created an Azure WebJob that checks the most recent temperature every 5 minutes and, if it is night time, decides whether to set the target temperature of the Nest so that the heating comes on. This job also stores the current room temperature being recorded by the Nest to Azure Table storage.
The code for the Imp Agent, API, web job and a website to display current readings and some charts can be found on GitHub - the code is here
